Waorb

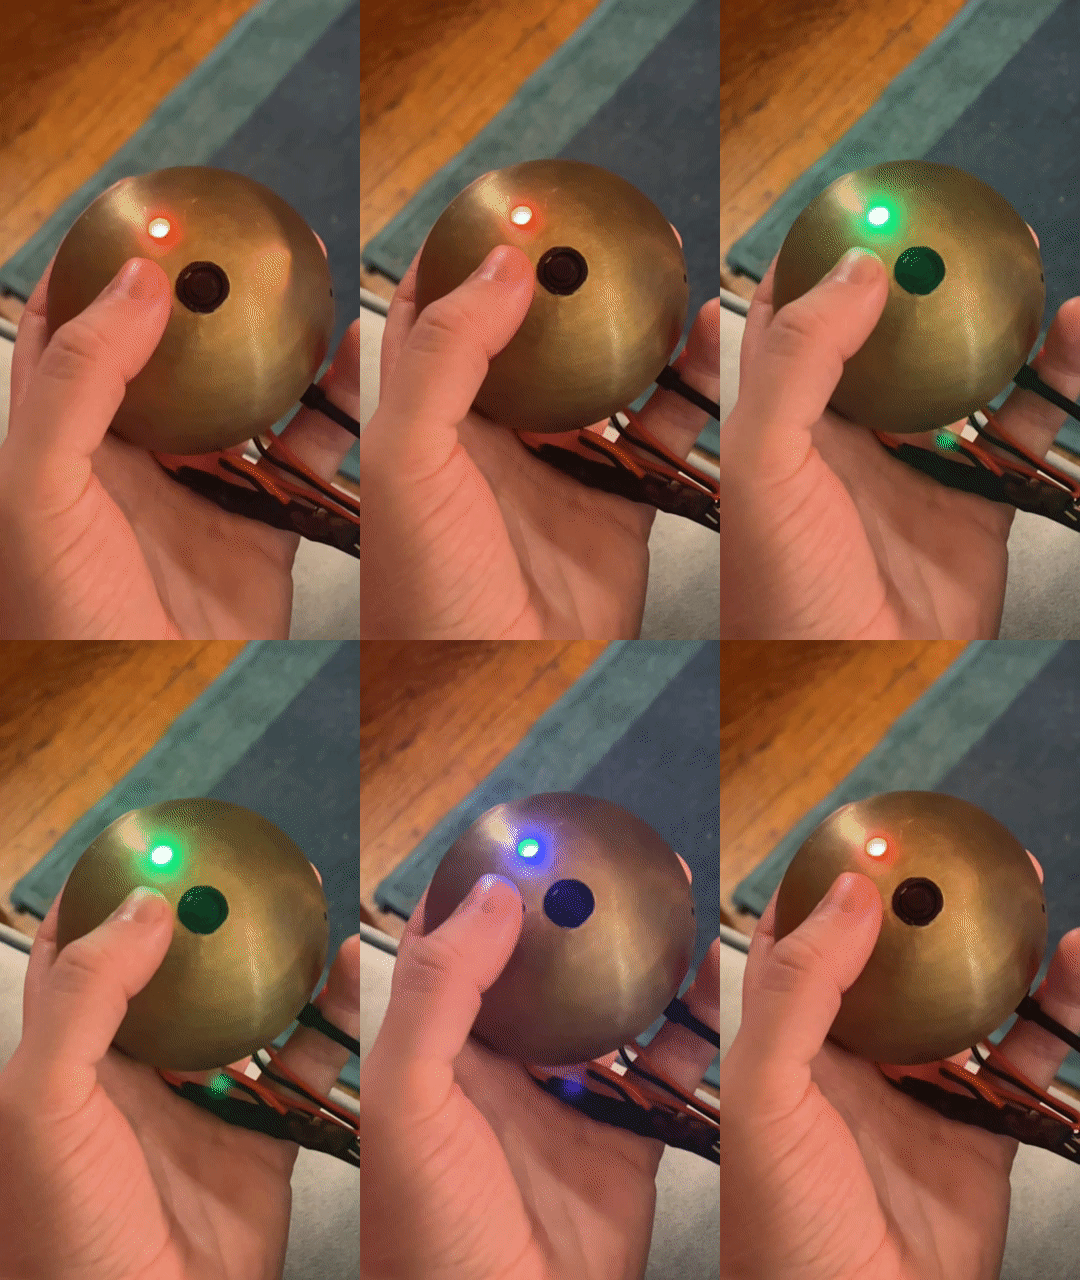
Waorb (warm orb) is a spherical device which experiences the warmth from a person's hands and repeats all the previous temperatures it has felt. This ongoing project aims to provide the holders with a visceral sense of connection to the people who have held the Waorb before them -- allowing the sensation of each holders’ body warmth to be transmitted across time. Waorb is an ongoing project, but the current prototypes were developed during Carnegie Mellon’s Experimental Capture course taught by Golan Levin and Nica Ross.
Material Choices
The outside of the Waorb needed to be a good thermal conductor so that it would be able to heat and cool quickly and evenly. This, along with its anti-bacterial and anti-viral characteristics led me to make the shell of the device out of copper, brass, or bronze. I purchased brass sheet to characterize the heating element on the basis of price, and architectural bronze 3” spheres for the final orb.
Electrical System
Initial Design
Before beginning this project I had little experience building circuits, so my first step was to talk to an electrical engineering friend and learn the basics of circuit design. After a several hour circuit design intensive, I created a preliminary circuit design.
I then built this circuit on a breadboard and connected it to an Arduino to begin writing proof-of-concept software.


Temperature Sensing
In order to calibrate the sensitivity of my resistive temperature sensing system, I first modeled the circuit in Falstad to read between 1V-0V between 10℃ (50℉) and 44℃ (110℉). Arduinos are able to break the voltage on an analog read pin into 1024 increments between 5V and ground or between 1V and 0V. Using the more sensitive of the reading options this gave the circuit a sensing accuracy of 0.03℃. Humans at their most sensitive have been documented to be able to sense changes in temperature between 0.02℃ for heating and 0.03℃ for cooling. This allows the Waorb to accurately repeat body temperature at the same sensitivity as a person.
After building the circuit with the resistor value I calculated in Falstad, I built the circuit and checked its actual performance against my found resistor value. To do this I used a thermometer and graphed the changes in value (0-1023) against the values in degrees. This allowed me to check my work and to get a better sense for the numbers needed to check the Waorb’s heating control loop in later steps.

Heating
In order to build the resistive heating system for the Waorb I used 40 gauge (the same width as a human hair) stainless steel wire, polyimide tape, and of course… math.
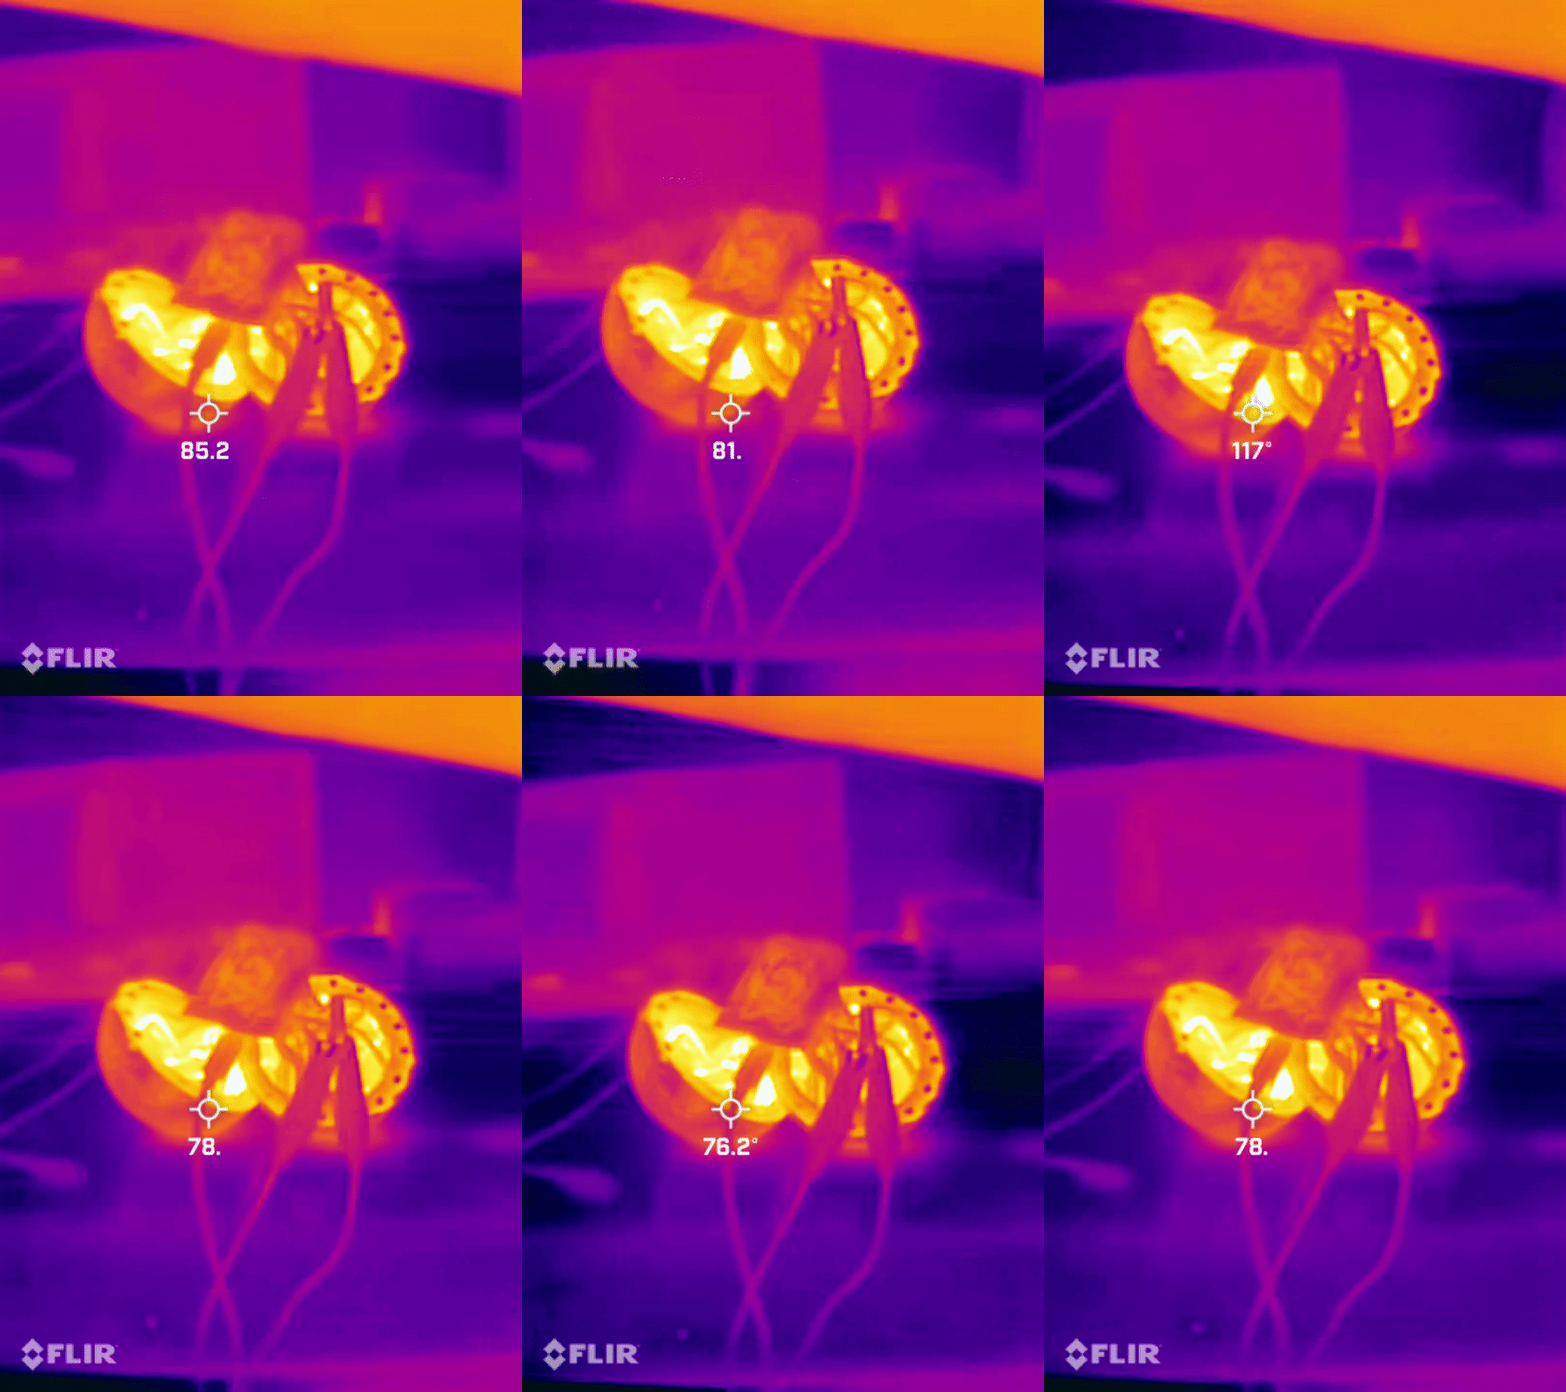
The nominal resistance value of [go to amazon listing to look up] meant I could definitely fit an appropriate resistor in the Waorb, but to determine how much wire I would need to use I had to more accurately characterize the system. To begin I experimentally checked the resistance of the wire using a ruler and a multimeter, finding it to be roughly 10 Ohms per inch. I then sandwiched a single six inch strand between polyimide tape and taped it to a piece of brass. I used this to determine what power I needed for an acceptable rise in temperature.

I found that by placing my two lipo batteries in series I could provide 1 amp at 6.6 volts at a safe 2C discharge rate. So to achieve my desired heating (the maximum my batteries were able to provide) I needed to use 5 pieces of 5 inch stainless steel wire on each hull of the Waorb.
Software
I learned to write the limited version of C that Arduinos use for this project. While most parts of this project would be trivial for an experienced amateur. I would caution anyone interested in making their own Waorb to:
- Draw out their state machine before beginning to write code
- Should they chose to emulate the temprature to color LED indicator on my Waorb, convert from RGB to HVS and back
- Make sure to turn off all analog/digital write pins at the start of the next mode
- Average the values of the thermistor sensing cicuit over 10 to 20 readings (for both controll loop and listening functions)
Mechanical Considerations
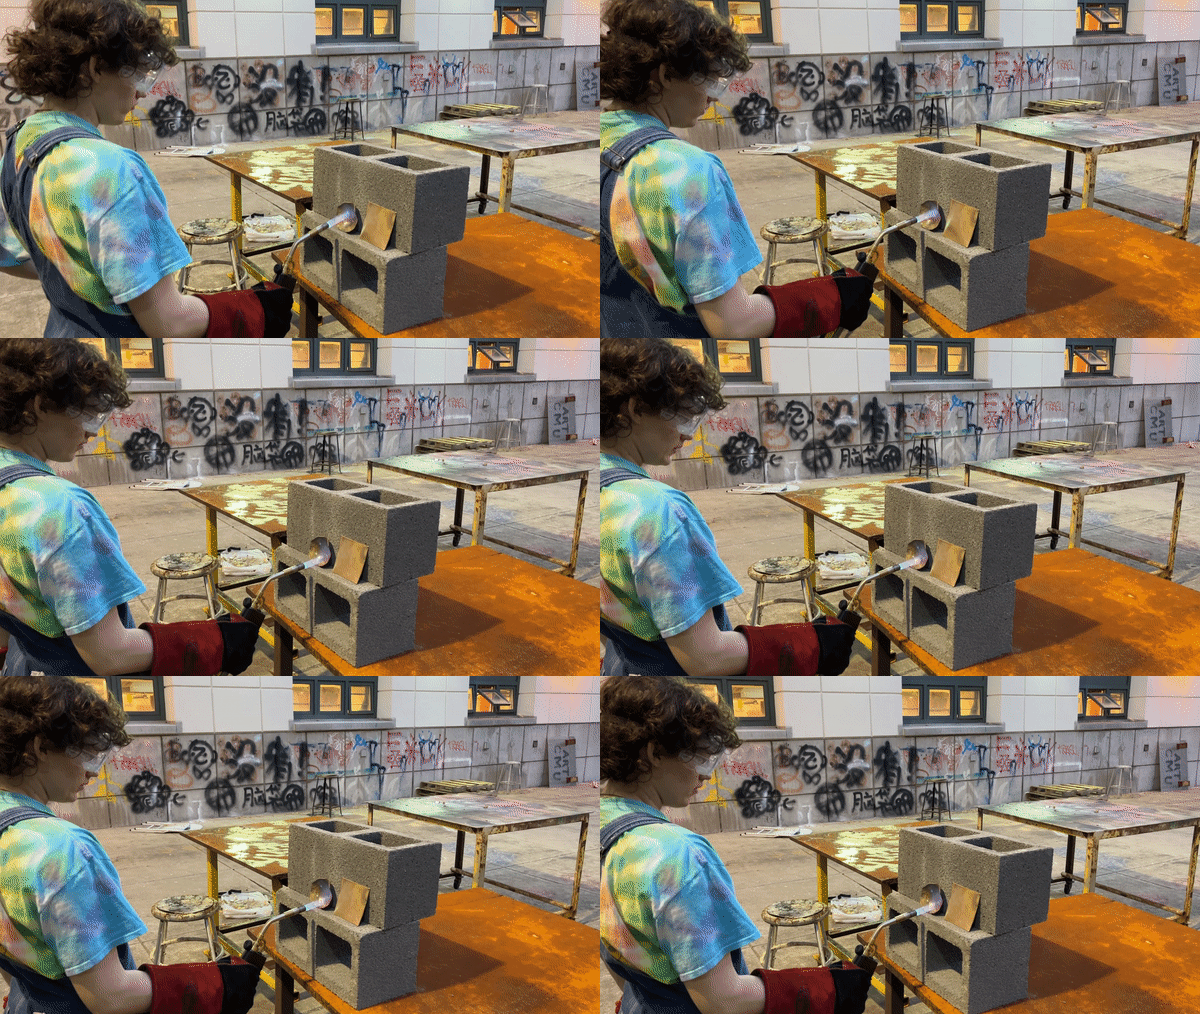
To anyone attempting to complete this project I would recommend considering how to fixture their Waorb’s spherical bronze shell before cutting it in half. I used a horizontal bandsaw, but correctly and safely cutting an orb was a project within the project. I ended up using a small pre-existing hole to friction fit a pole long enough to safely hold in the bandsaw’s vise, while applying pressure to the opposite side and top of the Waorb shell with two separate fixtures. Similarly, if you want to use a drill press, fixturing will be an issue. Despite its grabbyness, I strongly recommend a hand drill for the holes for the indicator LED and buttons.
I made my closure for the Waorb out of rare earth magnets fixed in place with polymer bake-to-harden clay. I first shaped the clay into the appropriate ring shape inside of the Waorb with magnets pressed into the soft clay, baked the whole object for the recommended time, and then used super glue to affix the now-hard ring to the orb and magnets.
Further Work
The Waorb is not yet finished. I next plan to print a custom circuit board to replace the Arduino and solderable breadboard in the center of the machine. I also plan to resolder key components of it with a flexible multi strand wire to allow for a smoother closure.